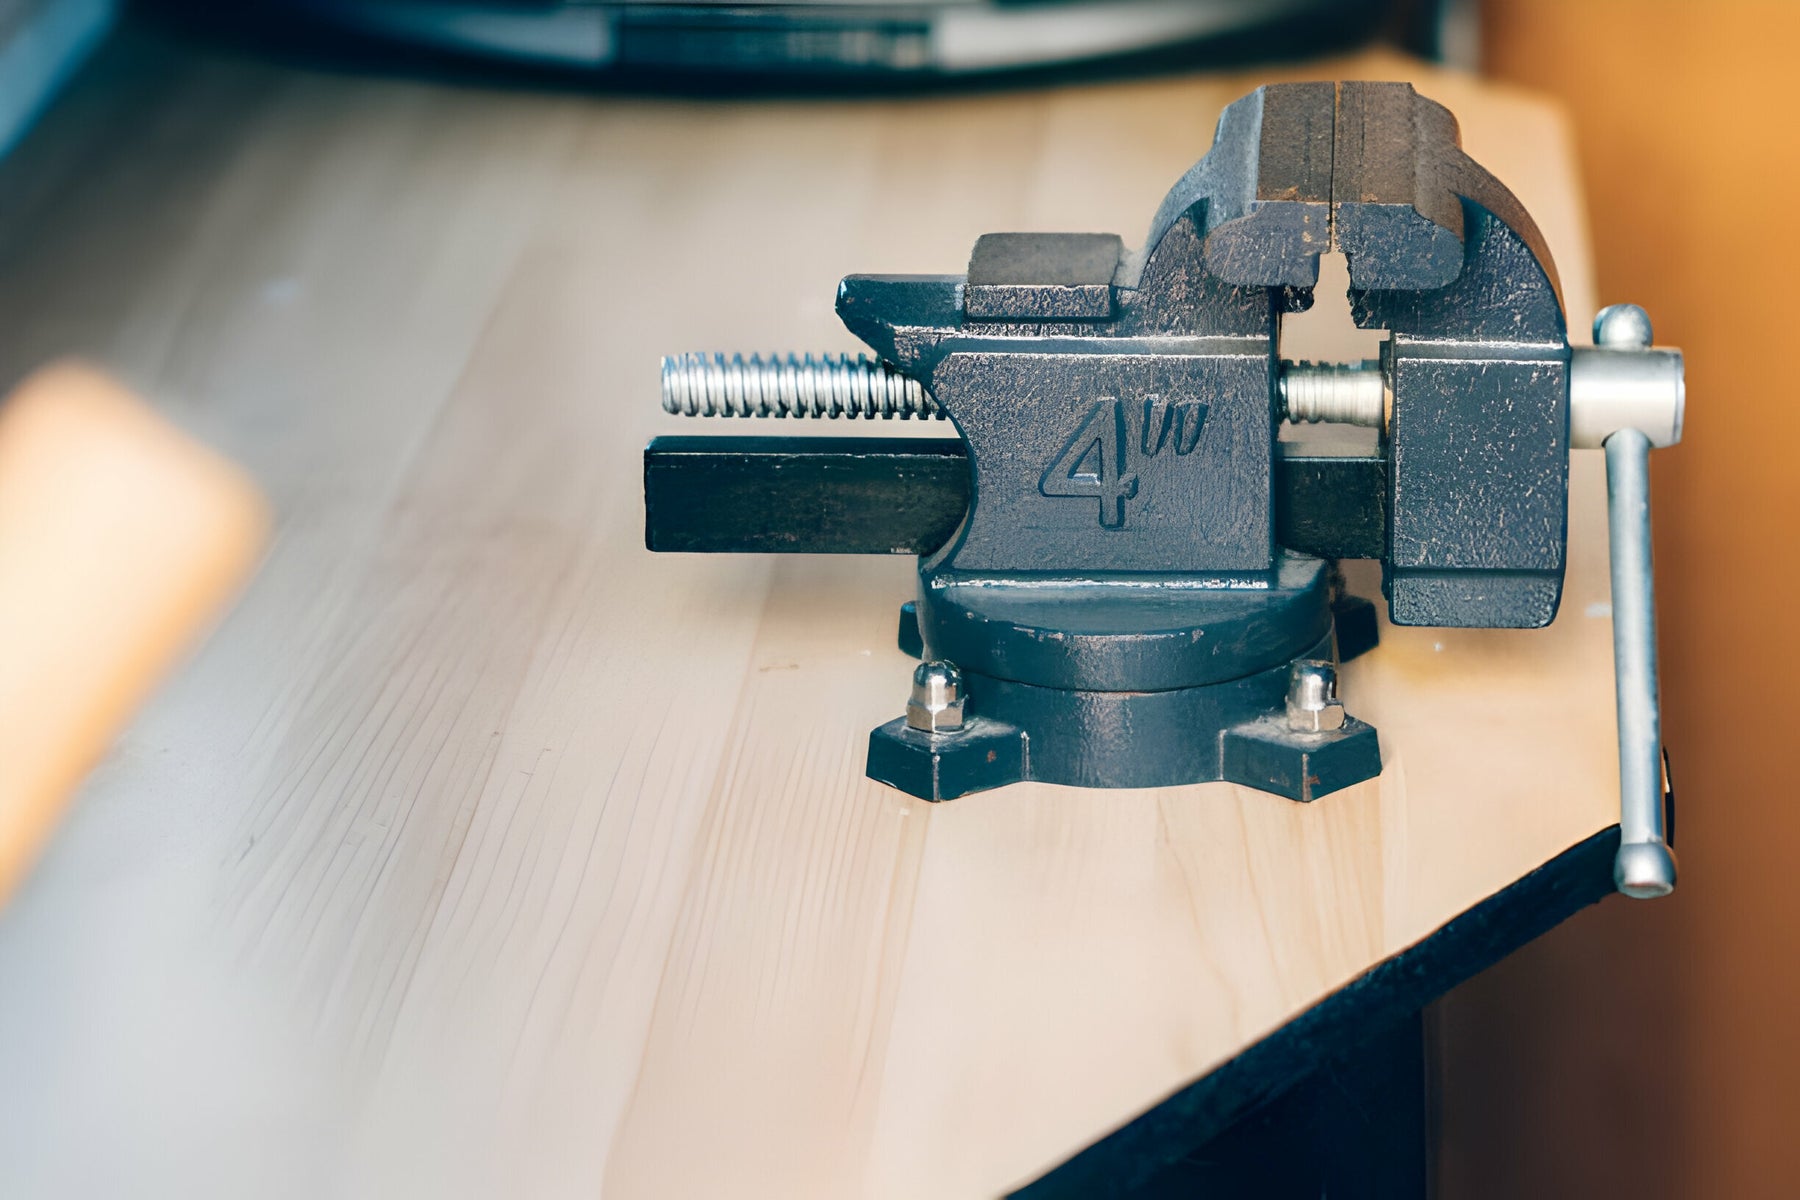
Secure Your Bench Vise Properly: Common Mounting Mistakes to Avoid
The bench vise is an invaluable tool for any woodworking, metalworking or mechanical shop. It allows workpieces to be securely held in place for precision cutting, shaping, drilling and more. However, its full functionality relies on the bench vise being properly mounted to withstand the pressures applied during work. All too often, amateur shopkeepers make simple yet costly mistakes when first installing their vise that render it unstable and potentially dangerous to use. In this comprehensive guide, we will explore the eleven most common errors to avoid when mounting a bench vise for the first time. By learning from these mistakes, your vise can provide years of trusted service.
Choosing the Wrong Mounting Surface
An unstable or flexible work surface
- Wooden workbenches that wobble or sag under pressure
- Thin or lightweight metal workbenches
- Portable or fold-away workstations not designed for vise use
A non-flat mounting surface
- Work surfaces with visible dips, bumps or unevenness
- Old, worn or damaged areas of a workbench
The importance of a sturdy, rigid and perfectly flat mounting surface cannot be overstated. Any flexing, bowing or movement of the work surface will directly transfer to the vise during use, compromising its clamping ability. Take the time to select an area of your workbench, table or stand constructed from thick, strong materials designed to withstand heavy clamping forces without distortion. Check for flaws and repair or replace problem spots before installation.
Insufficient Bench Vise Size
Choosing a vise too small for the job
- Underpowered vises for heavy-duty metalwork
- Mini vises intended for light DIY tasks only
Mounting a heavy-duty vise on a lightweight work surface
- Risk of work surface cracking or collapsing under strain
You get what you pay for with bench vises - cheaper models simply may not handle tough jobs. Consider your intended applications and size of workpieces to be clamped. Heavier vises designed for industrial use put greater stresses on mounts and require extremely rugged work surfaces. Always match the vise capacity to the strength of your work area. Otherwise, frustrating struggles with an under-spec'd vise may ensue or mounting surfaces could fail catastrophically.
Flimsy or Inadequate Mounting Hardware
Using wood screws instead of lag bolts or machine bolts
- Wood screws can pull out of wood over time under pressure
- Machine threads provide much stronger holding power
Neglecting to use locking nuts or adhesive
- Vise can loosen and slip from repeated clamping/unclamping
- Adding threadlocker or nuts safely secures bolts in place
Just as important as mounting location is using hardware sturdy enough to withstand the overhead stress of workpiece clamping. Wood screws alone are insufficient and will likely pull free over time. Lag bolts with washers or machine bolts long enough to penetrate deep into the work surface are best. For extra security, add threadlocking compound or locking nuts. Omitting these steps risks having a loose vise bolt fly out mid-use and potentially cause injury. Quality fasteners provide long-term, worry-free mounting.
Improper Mounting Bolt Alignment
Angling bolts instead of vertical alignment
- Bolts act as levers and pry against mounts
- Vise may twist or bind during operation
Uneven bolt tightening
- Vise base pulls to one side as tightened
- Distortion ruins flat, parallel contact
Bench vise mounting holes are designed for bolts to pass straight down through the base, tightly sandwiching it flush against the work surface. Any angling or uneven tightening of bolts introduces mechanical problems. Slightly angled bolts will lever against mount points, putting twisting forces on the vise and raising the risk of binding or loosening over time. Uneven tightening pulls the base out of parallel, preventing full-surface contact. Take your time aligning and gradually torquing down bolts until fully seated and level.
Failure to Prep Mounting Areas
Dirty or grimy surfaces
- Dirt or debris prevents proper mating of parts
- Can cause slippage or uneven contact
Rough, pitted or oily surfaces
- Surface irregularities leave voids under base
- Oil prevents adhesive bonding of vise
Removing grease, dirt and other contaminants from the mounting area interface is a must before installation. Foreign substances will warp your ability to achieve true, debris-free contact between pieces. Surface irregularities like machine tool markings or rust pits can harbor debris or form voids under the base. Sand or grinding may be needed for proper preparation. Some installers also apply a thin layer of adhesive (epoxy, industrial glue) to the mounting area for a durable bond. Degreasing and cleaning ensures your vise mates securely to the work surface as intended.
Mounting in an Unsuitable Location
Too far from workplace
- Long stretches to carry/move parts in vise becomes tiring
- Less usable space around vise
In a low-traffic area
- Out of the way means less frequent/convenient usage
- May collect clutter and become neglected
Without clearance for vise handle movement
- Getting pinched or vise interference limits use
- Handle could damage nearby stored tools or materials
Carefully consider ergonomics, available space and workflow when choosing an installation spot. Mount the vise in a primary area of your work area near where parts are normally manufactured or maintained. Avoid poorly lit corners or high shelves where it may see less action. Leave adequate clearance for vise jaw and handle movement without interference or risk of pinches. An ultra portable model makes more sense if space is constrained. Convenience directly affects how often and comfortably your vise gets incorporated into jobs.
Improperly Leveling the Vise Base
Relying on eyeballing flatness
- Even trained eyes can miss subtle angles unassisted
- Electronic levels reveal truth with precision
Forgetting to check in multiple planes
- Twists or pitch are hidden if only checking one plane
- Level in both axis ensures square mounting
Loosening bolts to re-level or shift mounting
- Weakens mounting strength each time it's disturbed
- Measure carefully up front to avoid reworks
Get it right the first time by properly establishing a dead-level vise base before final tightening of hardware. Human senses are fallible - electronic digital levels expose flaws to even expert eyes. Check for flatness side-to-side and front-to-back, verifying zero angles across the whole mounting surface in both planes. Loosen and re-level should be avoided, each iteration grinding away holding integrity. Instead, read levels attentively during drilling/bolt placement for a one-and-done installation. Perfection need only be achieved up front.
Mounting Without Test-Clamping
Skipping operational checks before use
- Problems like binding or misalignment go undiscovered
- User frustration could be avoided with simple checks
Failing to verify parallelism of jaws
- Off-angle jaws ruin repeatable, square clamping accuracy
- Sanding or grinding may be needed for adjustment
Not testing for smoothness of motion
- Binding, sticking or stiff spots will hinder efficient use
- Apply lubricant and hand-fit as necessary before relying on it
Resist the urge to get right to work in your shiny new vise before essential test runs. Safe functionality is more crucial than sheer productivity. Check for jaw parallelism, binding points or odd motions that could indicate mounting errors before trusting heavy parts to the vise. Rock the handle smoothly through its full sweep to find stiff spots or poor alignment. Simple adjustments now can save major time fixes later. Prevent damaged workpieces and aggravation by thoroughly road testing your new mount beforehand. Let potential issues surface without risk.
A Lack of Lubrication
Forgetting initial lubrication of contacting parts
- Dry metals quickly seize or corrode together
- Subsequent loosening can damage components
Not re-lubing periodically
- Moving corrosion develops unseen, causing binding
- Vise mechanisms wear out prematurely from friction
Like any precision mechanical device, bench vises require initial lubrication and periodic touch-ups to uphold smooth operation. Metal joints left dry will bond together through microscopic seizing or galvanic corrosion given enough time and repetitive motion. Shoot a penetrant lubricant into exposed screw threads and sliding jaw mechanisms upon assembly to prevent binding. Reapply lube every few months or as needed to flush away debris and dissolved metal ions. Premature failure and galling can occur unnoticed if overlooked, compromising performance and service life. Simple lube protocols save lots of frustrated hassle down the road.
Related Article: Top Tips to Avoid Common Bench Vise Mistakes
No Failures: Operation with Confidence
With the right preparations, your bench vise mounting should achieve trouble-free, long-term use. The care invested up front to select strong hardware, prep surfaces, achieve precision leveling and address stiffness pays huge dividends versus fixing problems later. Regular lube maintenance keeps mechanisms sliding smoothly over decades. By learning from common oversights, your vise installation can become the trusty workhorse of any shop without worrying about failures under pressure. Get it right from the beginning for safe, reliable clamping far into the future.
Related Topics

Learning from the Masters: Safety Tips from Experienced Woodworkers
As a woodworker, safety should always be the top priority no matter your skill level or years of ...
Read More
Importance of Fire Prevention in Woodworking Workshops
Woodworking can be a fulfilling hobby or profession for many people. However, it also carries ris...
Read More
Electrical Safety Tips for Woodworking Projects
Electricity powers a vast array of machinery that woodworkers rely on every day. However, it is c...
Read More